

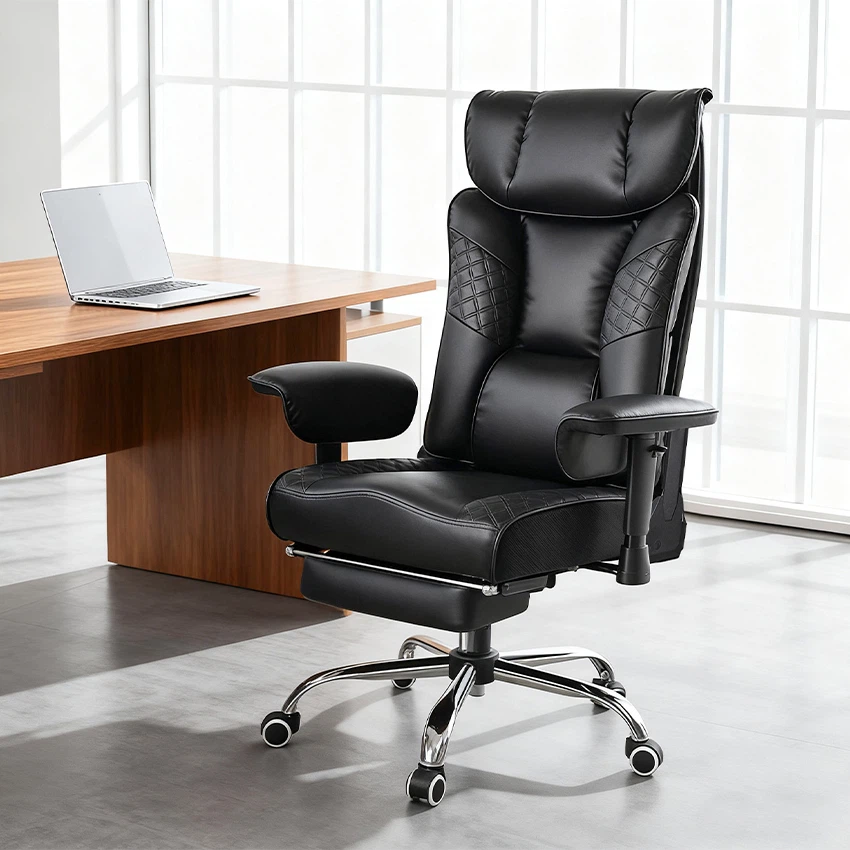

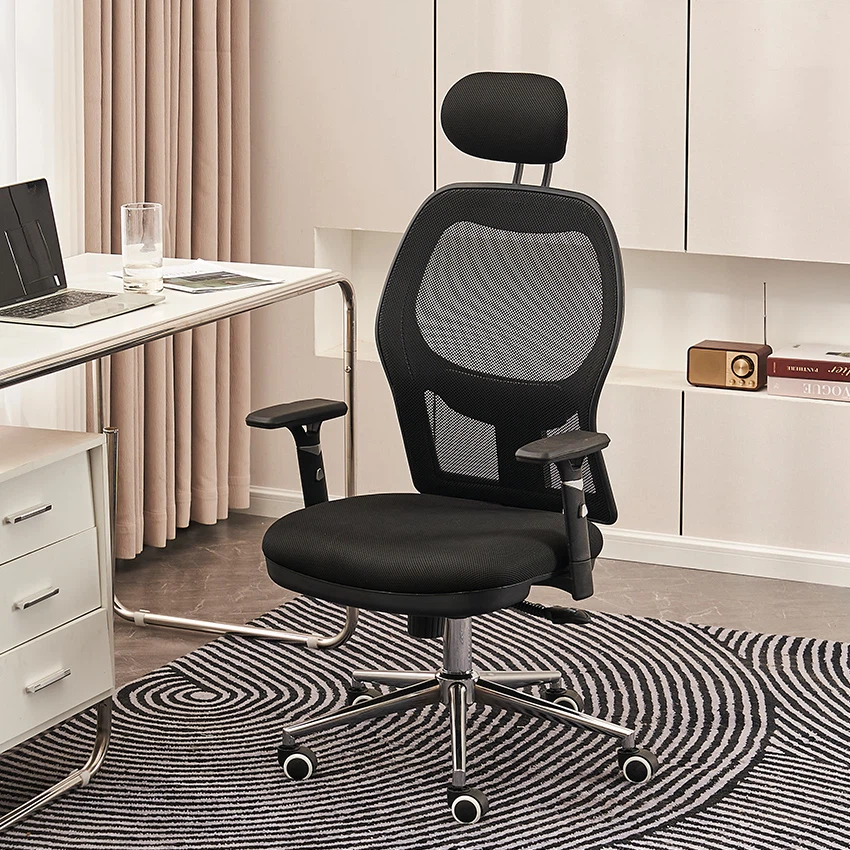

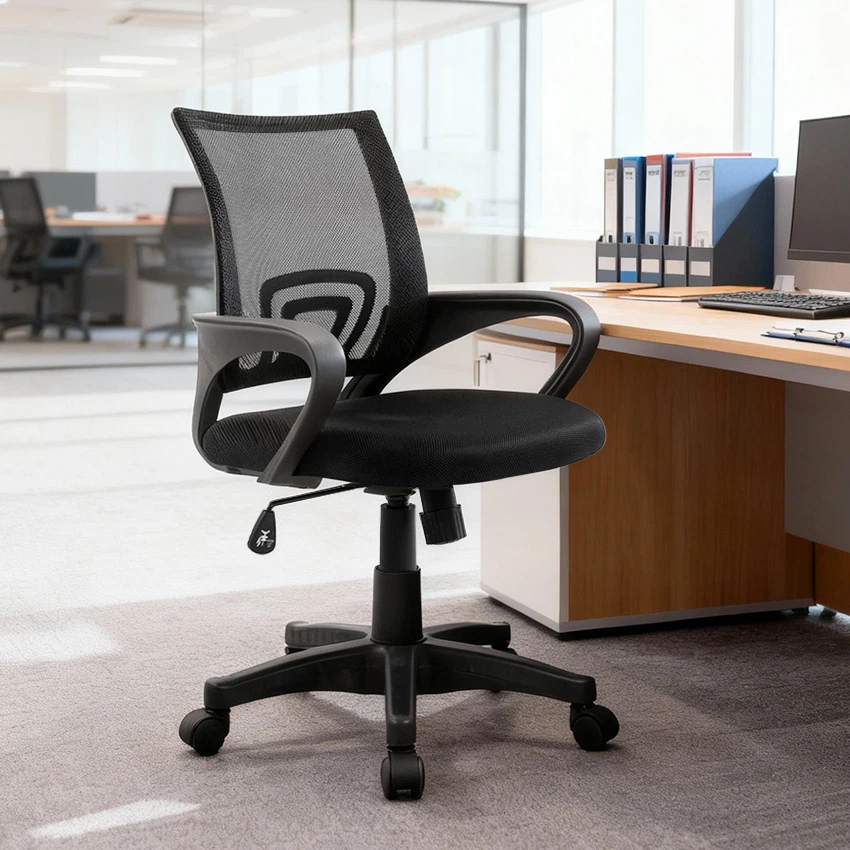
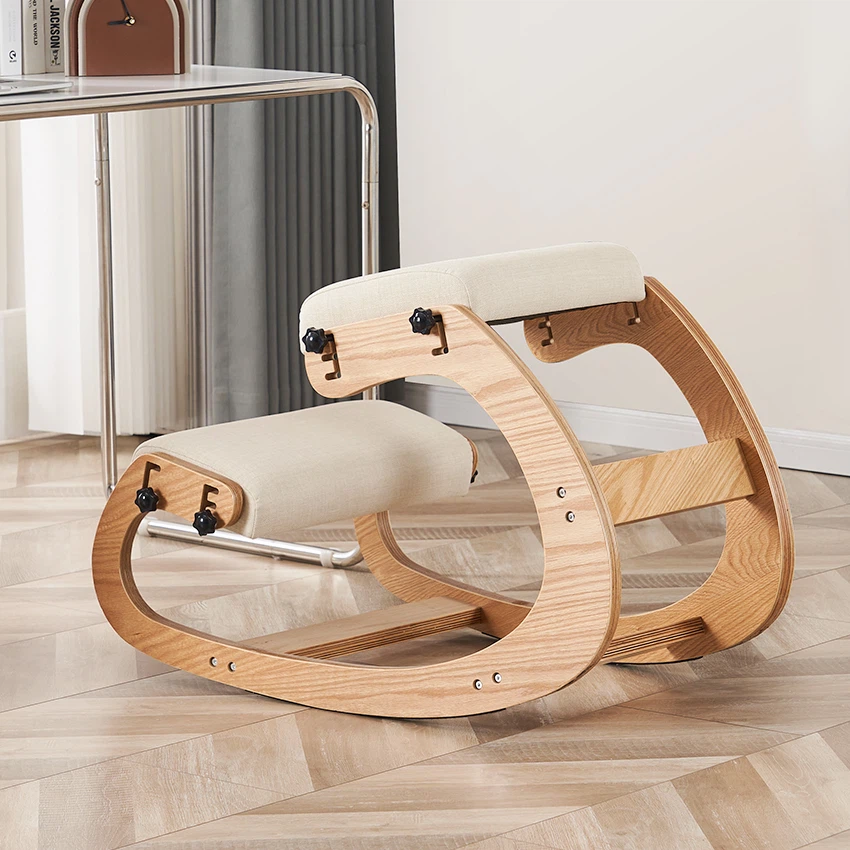

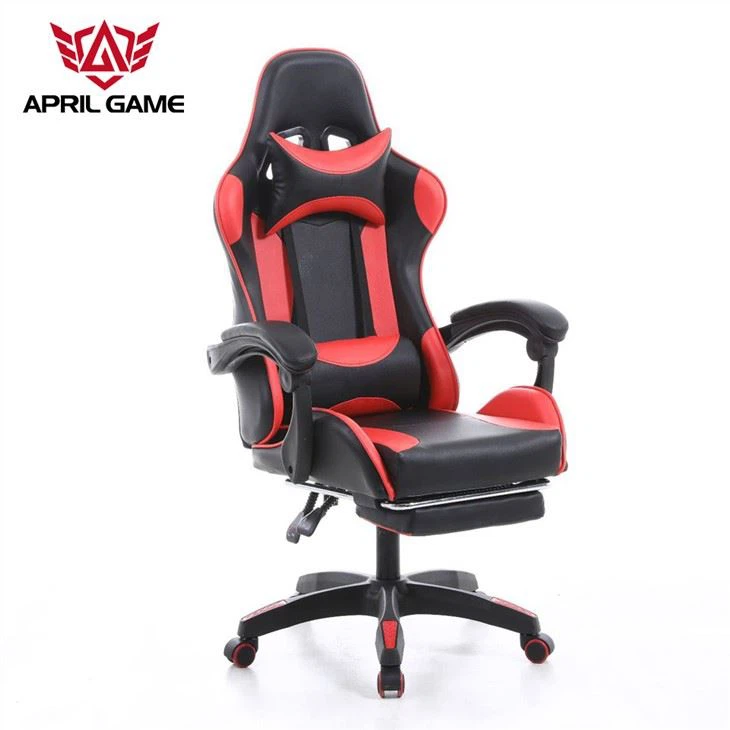

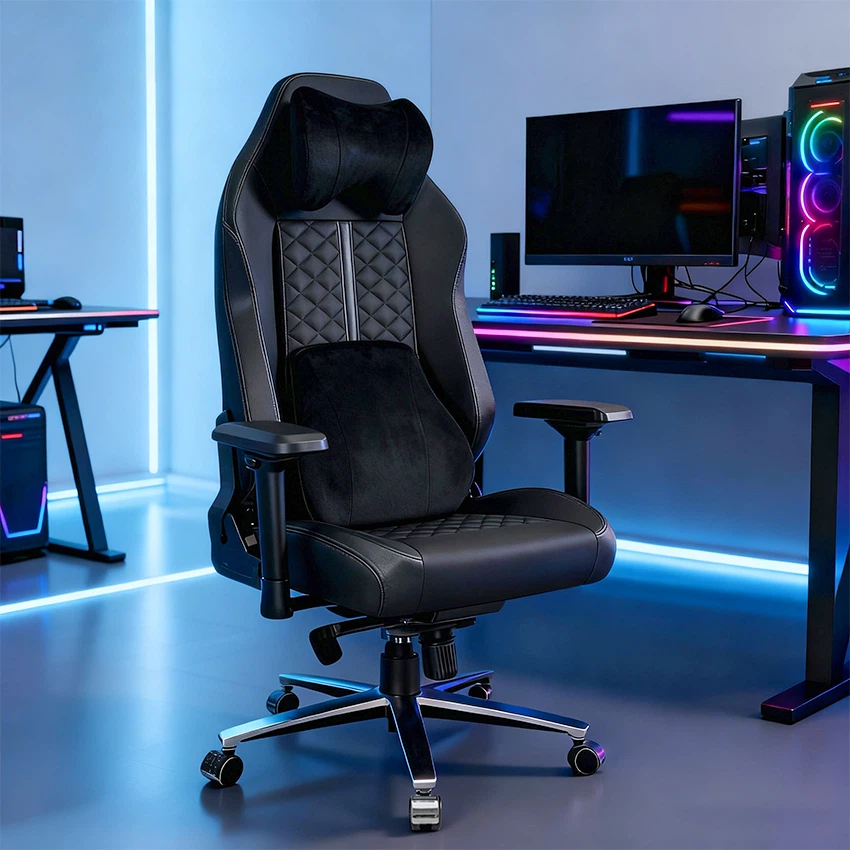












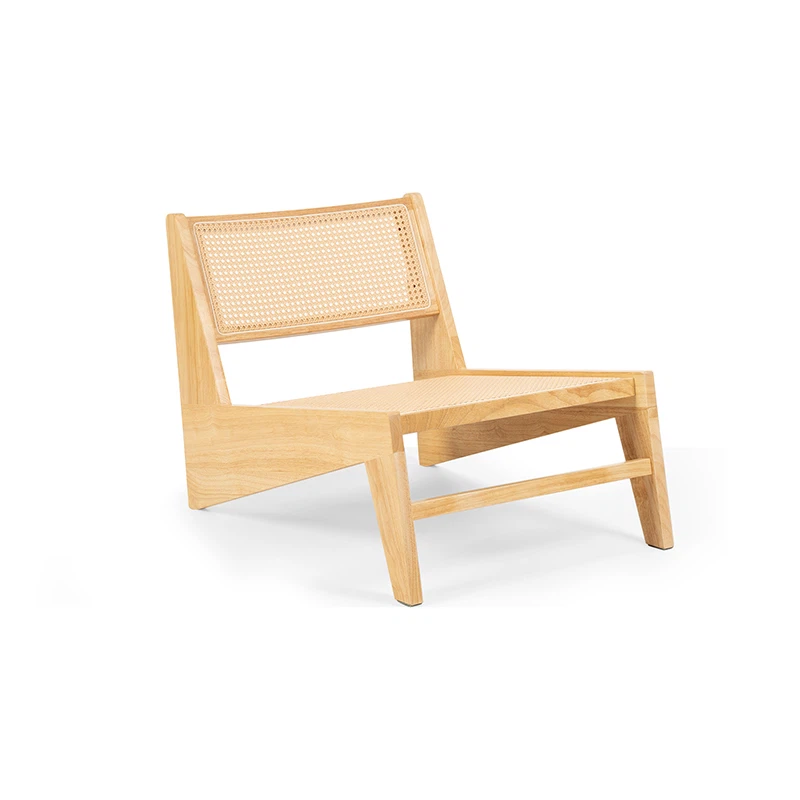


Assembling a gaming chair can seem like a daunting task, especially if you're not particularly handy. However, with the right guidance and a bit of patience, you can have your new gaming chair up and running in no time. As a gaming chair supplier, I've assembled countless chairs and have learned a few tricks along the way. In this blog post, I'll walk you through the step-by-step process of assembling a gaming chair, using some of the popular models we offer as examples.
Step 1: Gather Your Tools and Parts
Before you start assembling your gaming chair, it's important to gather all the necessary tools and parts. Most gaming chairs come with a set of tools, but it's a good idea to have a few extra on hand, just in case. Here's a list of tools you'll need:
- Screwdriver (Phillips head and flathead)
- Allen wrench
- Pliers
- Hammer (optional)
Once you have your tools, carefully unpack the chair and lay out all the parts. Make sure you have everything you need before you start assembling. If you're missing any parts, contact the manufacturer or supplier immediately.
Step 2: Assemble the Base
The first step in assembling a gaming chair is to assemble the base. This typically involves attaching the casters to the base and then attaching the base to the gas lift. Here's how to do it:
- Attach the Casters: Most gaming chairs come with a set of casters that need to be attached to the base. Simply insert the casters into the holes in the base and press down firmly until they click into place.
- Attach the Gas Lift: The gas lift is the mechanism that allows you to adjust the height of the chair. To attach the gas lift, insert it into the center hole in the base and twist it clockwise until it is securely in place.
Step 3: Attach the Seat
Once the base is assembled, it's time to attach the seat. This typically involves attaching the seat to the base using a set of bolts or screws. Here's how to do it:
- Position the Seat: Place the seat on top of the base and align the holes in the seat with the holes in the base.
- Insert the Bolts or Screws: Insert the bolts or screws through the holes in the seat and into the holes in the base. Use a screwdriver or Allen wrench to tighten the bolts or screws.
Step 4: Attach the Backrest
The next step is to attach the backrest to the seat. This typically involves attaching the backrest to the seat using a set of bolts or screws. Here's how to do it:
- Position the Backrest: Place the backrest against the seat and align the holes in the backrest with the holes in the seat.
- Insert the Bolts or Screws: Insert the bolts or screws through the holes in the backrest and into the holes in the seat. Use a screwdriver or Allen wrench to tighten the bolts or screws.
Step 5: Attach the Armrests
If your gaming chair comes with armrests, the next step is to attach them to the seat. This typically involves attaching the armrests to the seat using a set of bolts or screws. Here's how to do it:
- Position the Armrests: Place the armrests on either side of the seat and align the holes in the armrests with the holes in the seat.
- Insert the Bolts or Screws: Insert the bolts or screws through the holes in the armrests and into the holes in the seat. Use a screwdriver or Allen wrench to tighten the bolts or screws.
Step 6: Adjust the Chair
Once the chair is assembled, it's time to adjust it to your liking. Most gaming chairs come with a variety of adjustment options, including height, tilt, and lumbar support. Here's how to adjust the chair:
- Adjust the Height: Use the gas lift to adjust the height of the chair. Simply pull up on the lever to raise the chair and push down on the lever to lower the chair.
- Adjust the Tilt: Most gaming chairs come with a tilt mechanism that allows you to recline the chair. To adjust the tilt, simply pull up on the lever and lean back in the chair.
- Adjust the Lumbar Support: If your gaming chair comes with lumbar support, you can adjust it to provide additional support for your lower back. Simply turn the knob or lever to adjust the lumbar support.
Step 7: Test the Chair
Once you've adjusted the chair, it's time to test it out. Sit in the chair and make sure it's comfortable and stable. If you notice any issues, such as a wobbly base or loose bolts, tighten the bolts or contact the manufacturer or supplier for assistance.
Popular Gaming Chair Models
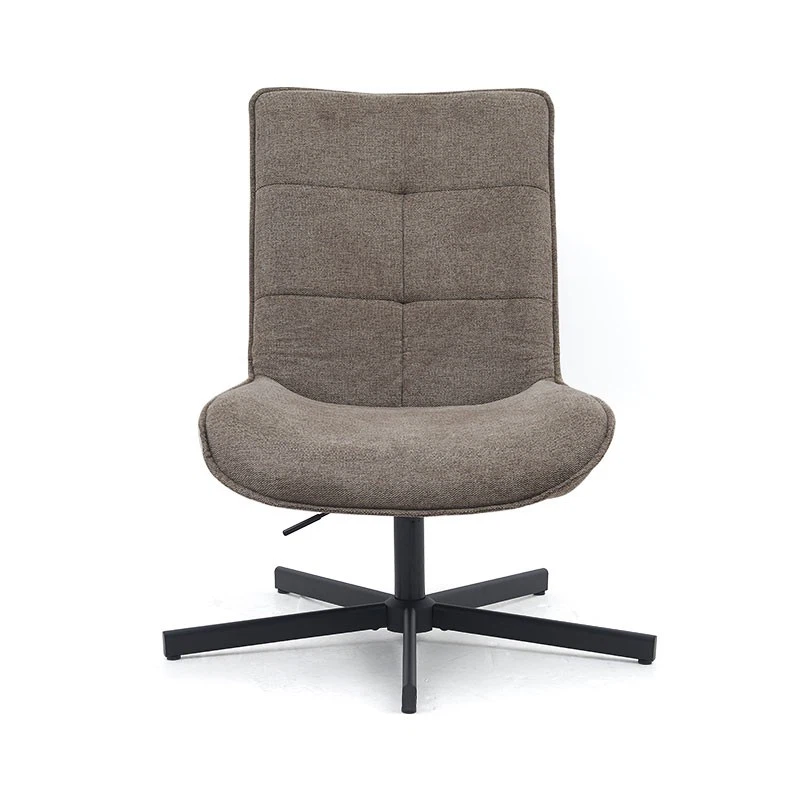
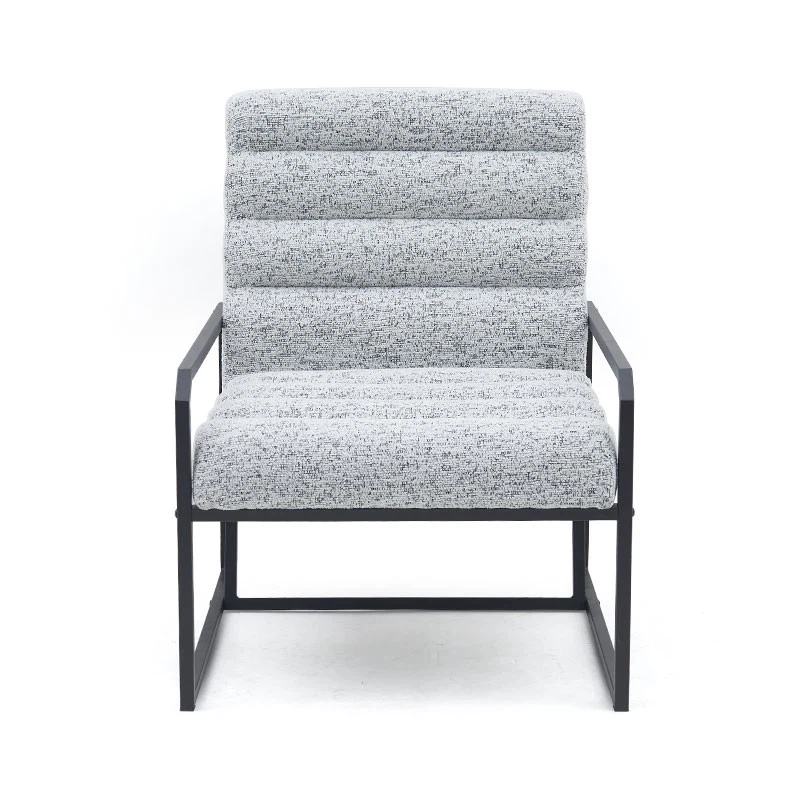
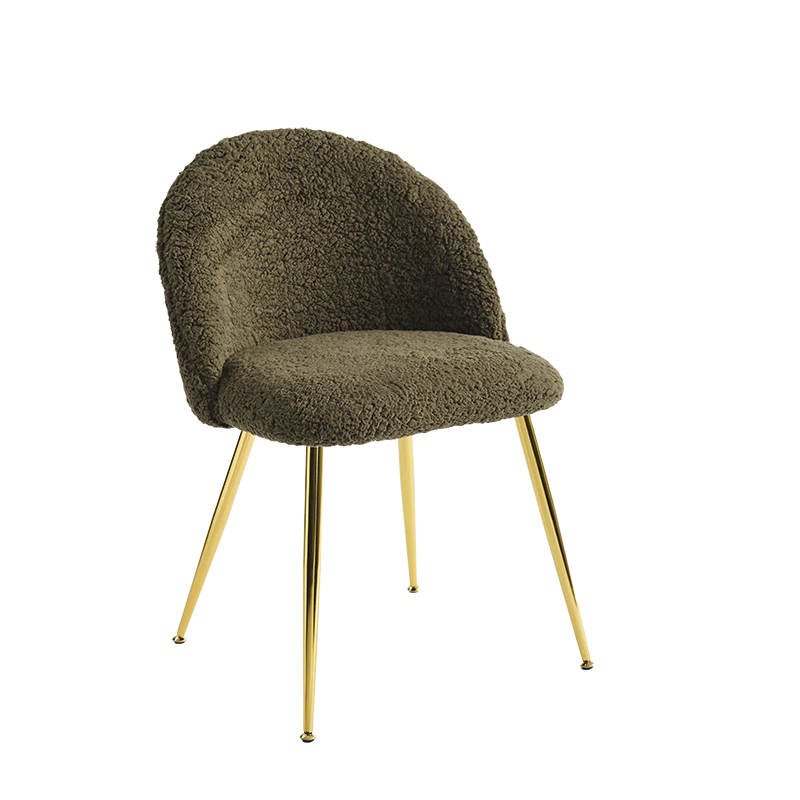
As a gaming chair supplier, we offer a variety of popular gaming chair models, including the Guyou Lake Blue Accent Chair Shell-Shaped X-5110, the Y-1714 Blue/Purple Linen Office Chair/Mesh Chair/Computer Chair with Armrest, and the Gaming Linkage Office Chair. These chairs are designed to provide maximum comfort and support, making them ideal for long gaming sessions.
Conclusion
Assembling a gaming chair can seem like a daunting task, but with the right guidance and a bit of patience, you can have your new gaming chair up and running in no time. By following the steps outlined in this blog post, you'll be able to assemble your gaming chair quickly and easily. If you have any questions or need further assistance, please don't hesitate to contact us. We're here to help you find the perfect gaming chair for your needs.


If you're interested in purchasing a gaming chair, we invite you to contact us for a quote. Our team of experts will be happy to assist you in finding the perfect chair for your needs and budget. We offer a wide range of gaming chairs, including ergonomic chairs, racing chairs, and more. Contact us today to learn more!
References
- Manufacturer's instructions for gaming chair assembly
- Personal experience assembling gaming chairs as a supplier


